This time, we’re going to talk about How To Take Apart A Bathroom Faucet Head. There is a lot of information about Bathroom Faucet Removal Problems on the internet, of course. Social media are getting better and better quickly, which makes it easier for us to learn new things.
Old Delta Single Handle Bathroom Faucet and Bathroom Faucet Handle Won’T Come Off are also linked to information about Remove 3 Piece Bathroom Faucet. As for other things that need to be looked up, they are about Single Handle Bathroom Faucet Repair Kit and have something to do with How To Remove Faucet Aerator Without Key.
66 Tips to How To Take Apart A Bathroom Faucet Head | Moen Single Handle Bathroom Faucet Removal
- Gently slide the retainer clip (#3) back into the valve body (#4) on top of the cartridge (#1). If you encounter any resistance, do not force the retainer clip (#3). The cartridge (#1) may not be properly aligned, see step 1. If the retainer clip (#3) cannot be installed for any reason or appears to be damaged or broken, the water cannot be turned back on to the faucet until the retainer clip (#3) is replaced. - Source: Internet
- After you remove the cap, you should see an invisible set screw beneath its location. Take your screwdriver and remove the set screw. It’s helpful to put a rag or paper towel in the sink before performing the step to prevent the screw from falling down the drain, which happens frequently. If you lose the screw, you won’t be able to re-attach the faucet handle. For this step, you can use an Allen wrench or a spanner. - Source: Internet
- Before removing any other components, turn off the water supply line that is connected to the faucet. You can do this by locating the valve beneath the sink and turning the lever to the right-be sure to turn it until you cannot turn it anymore. You can also do this by turning off the water to the entire building, which is usually located in the basement. - Source: Internet
- Also keep in mind that there are different types of internal valves for single-handle bathroom faucets, including cartridge, rotary ball and ceramic disc. According to Fine Homebuilding, ceramic disc valves are less likely to leak and will generally last longer than other types of faucet valves. While different faucet brands have different internal valves, most single-handle bathroom faucets can be taken apart and repaired using the same basic steps. - Source: Internet
- In this article, you’ll quickly learn how to remove a Moen bathroom faucet handle and stem in just 2 steps and about 15 minutes. I even have a video to show you. So, let’s get going. - Source: Internet
- There are many different types of Moen faucet handles. Each is built differently. While some faucet handles are fixed with screws, some aren’t. The removal process in both these cases is different. - Source: Internet
- Once you are done removing the faucet handle, it is time to replace it with a new one. Installing a new bathroom faucet is pretty easy if you have removed the previous one by yourself. Because the installation process is exactly the removal process backward. Be sure to maintain the correct order. - Source: Internet
- At Kingston Brass, homeowners can find replacement bathroom faucet handles to match almost any faucet design. Swapping out an old, damaged faucet handle is an excellent way to restore the look of the bathroom. Not only that, but in many cases, the replacement process is straightforward. - Source: Internet
- Take your drill and drill through the center of the screw head until your drill bit is slightly below it. Next, remove the drill bit and replace it with one that is the same diameter as the screw. Now position the drill over the hole you just made and drill it into the screw again. The drill should cover the head of the screw completely. Next, take the drill bit out of the drill. - Source: Internet
- Took your faucet’s aerator apart to clean it? Trying to figure out how to put it back together again? Internet absolutely no help because it tells you that you should have noted how it came out in the first place? Yeah, I’m with you, pal, and you’ve come to the right place. This is how. Click on the photos for larger versions. - Source: Internet
- If you are not used to working with plumbing or taking a faucet apart, it can be easy to forget what part goes where, even if you just took it apart five minutes ago. To avoid this problem and the need to call a plumber to put your single-handle faucet back together, take a video of yourself disassembling the faucet (or just take pictures along the way) to help keep track of each part. It’s a simple way to save yourself a lot of headaches. - Source: Internet
- Tip Unless these supply tubes are relatively new, it will be best to replace them with new tubes when you install a new faucet. The Spruce / Kevin Norris Loosen Mounting Nuts Using a basin wrench, reach up behind the sink basin from inside the vanity cabinet and grip the mounting nut that holds one of the faucet valve tailpieces to the sink or countertop. Turn the nut counterclockwise (viewed as you look upward at the nut from below) to loosen it, and unscrew it down the threaded tailpiece. Repeat with the mounting nut on the other tailpiece. If access space is tight, you may need to remove the water supply tubes from the ends of the faucet tailpieces to provide more space to reach up with the basin wrench. - Source: Internet
- To unfasten the faucet handle, grab a wrench, and grab the bottom of the faucet handle using that. Twist counter-clockwise. Use pliers to remove the faucet handle trim. You can use faucet handle pullers as well. - Source: Internet
- Removing a Moen bathtub faucet handle is not the easiest task ever. However, if you follow the steps below properly, you will be able to get the job done in minutes. Here is how you remove a Moen faucet handle: - Source: Internet
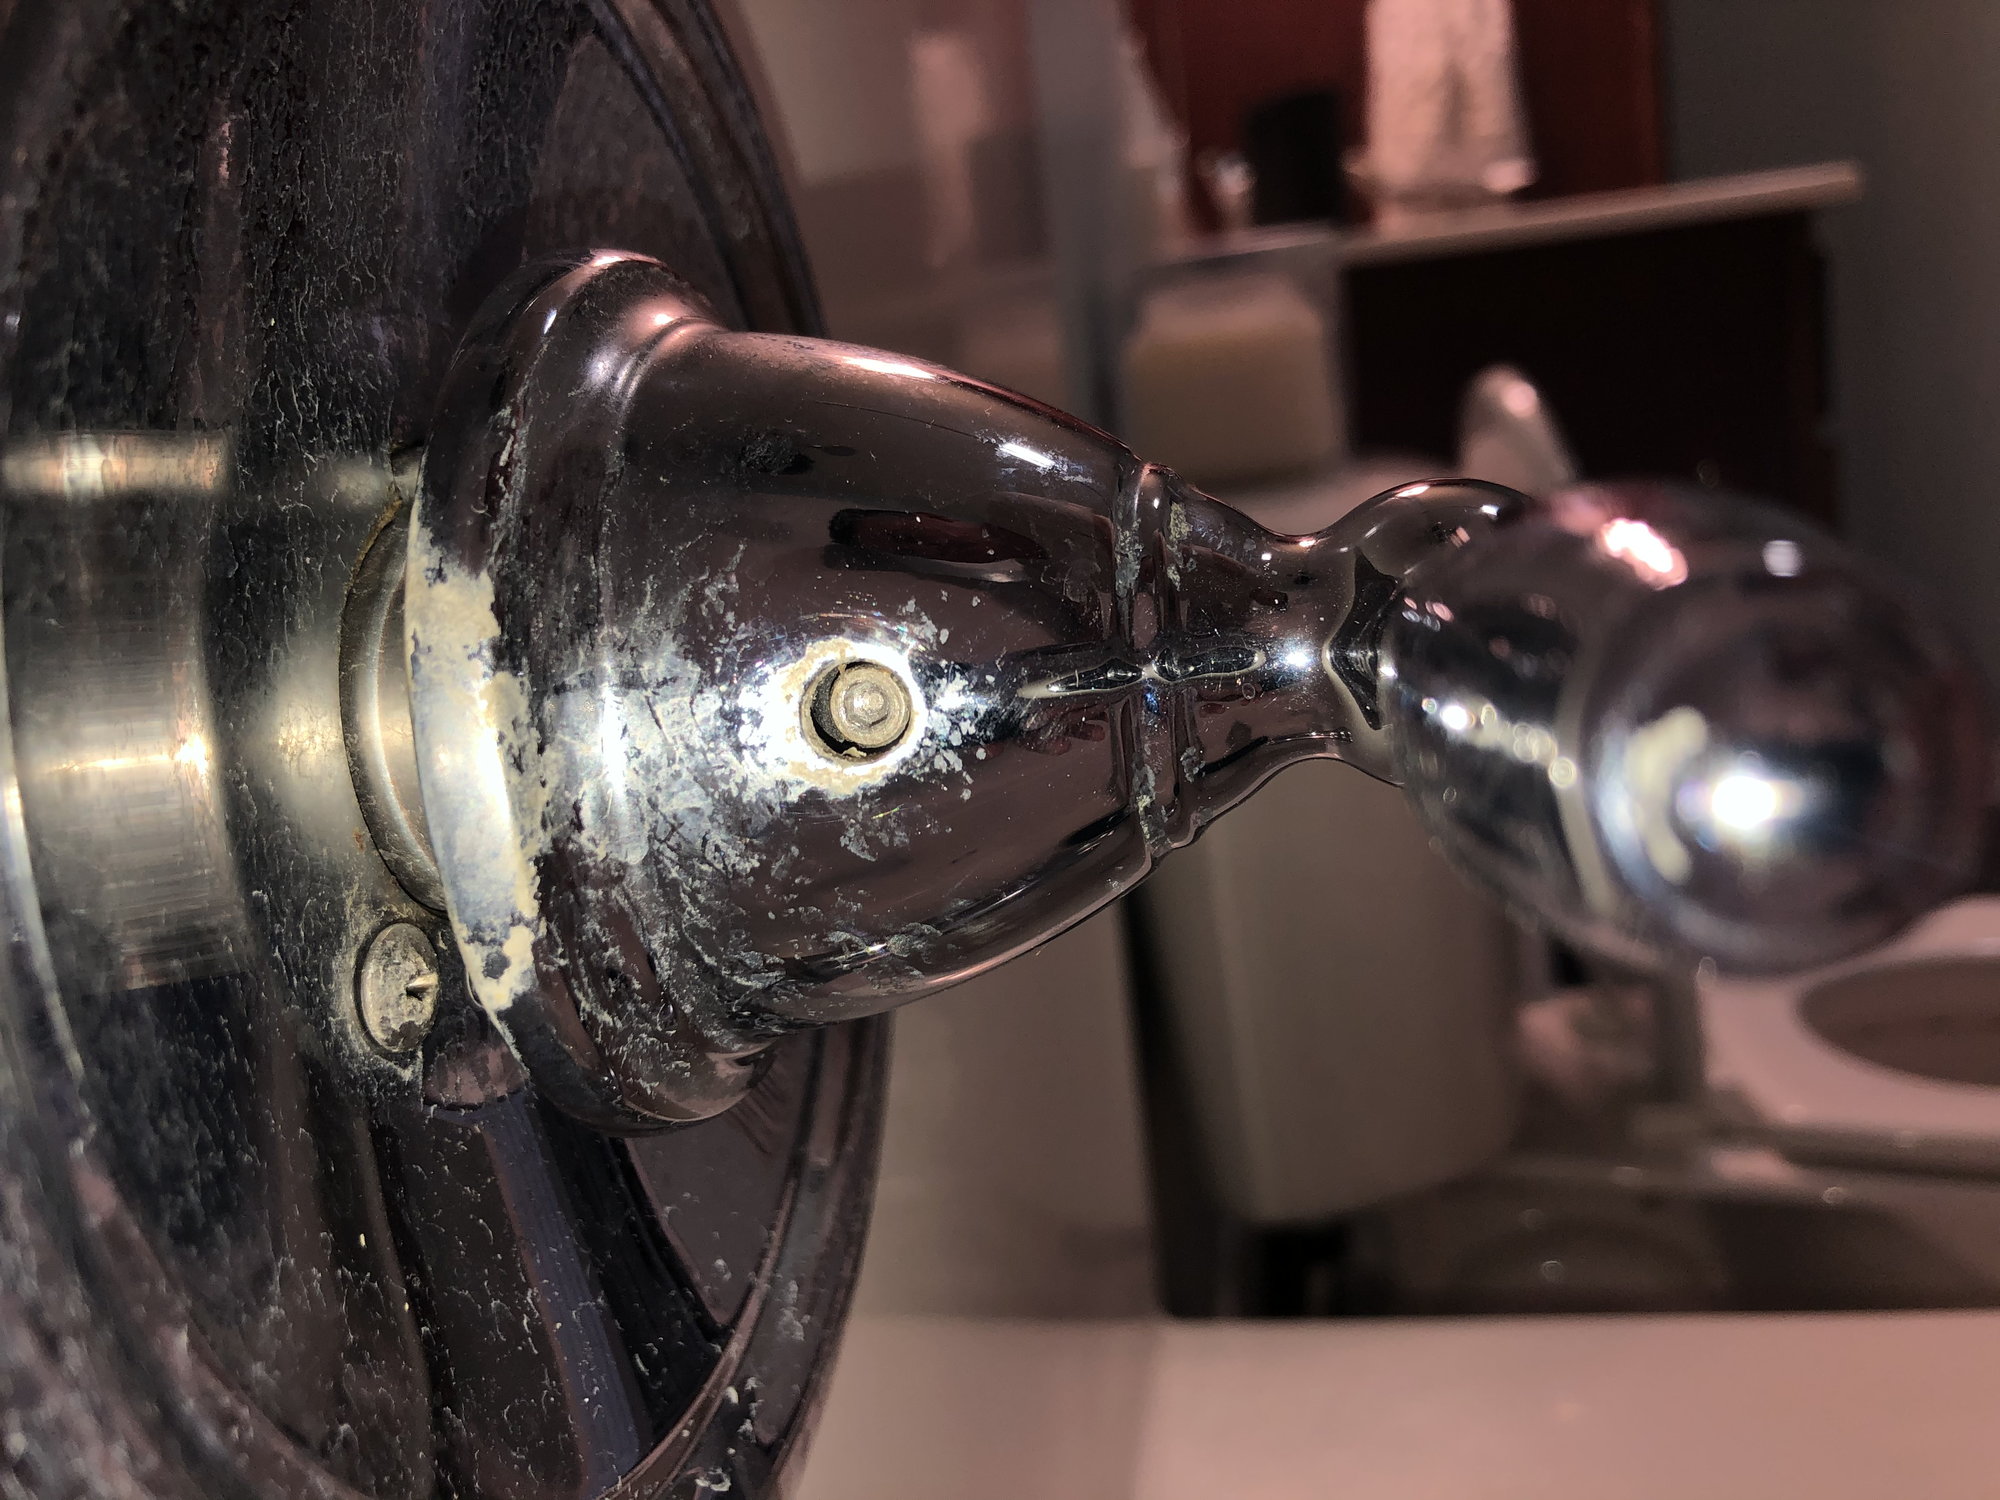
- Once the decorative cap has been located, popping the cap off is simple. In most cases, a decorative cap will feature a small slot along the edge of the faucet cap. Using a flathead screwdriver, simply apply a small amount of pressure to the cap and pop the cap off of the handle body. Be sure to apply pressure carefully and slowly to prevent cracking the cap. - Source: Internet
- The Spruce / Kevin Norris Unscrew Mounting Nuts With the handles and escutcheon out of the way, you should see the mounting nuts that hold the faucet body in place. There may be nuts at both handle locations, as well as at the spout. Use channel-type pliers to remove the mounting nuts. Do the same for the spout mounting nut, if there is one. - Source: Internet
- The type of water control valve your faucet uses is not always readily apparent just by looking at the faucet. For example, a single-handle kitchen faucet could use a ball, a disc, or a cartridge faucet valve. Usually, though, a single-handle cartridge faucet will give you the distinct sensation of the inner cartridge lifting upward when you turn the water on. With ball-type or disc-type faucets, the sensation is inner parts sliding or rotating. - Source: Internet
- If your two-handle faucet is leaking, feel the water to determine whether the cold or the hot side is leaking. You need to replace the cartridge on only the side that’s leaking. However, it’s possible that both sides are leaking and you’ll have to replace both cartridges. - Source: Internet
- Hopefully, you’ve made it in once piece. If so, next you want to disconnect the large nut that surrounds the base of the faucet – this can be done with a wrench. Once this is loose, you can lift the faucet from the faucet housing/counter (we’re nearly there!). - Source: Internet
- This type of leak could also be caused by a faulty cartridge, which is also the cause of a dripping faucet. The solution is the same for either problem: replace the cartridge. If there is water coming from under the single-handle faucet beneath the sink or counter, it could be caused by a variety of problems, including a leaky or faulty supply line or supply line nut. - Source: Internet
- Once you locate the cap, take a flat head screwdriver and carefully insert it into the gap in the middle of the cap, and gently work it around the edge until the cap pops out. Take the cap and set it aside so that it doesn’t fall down the sink’s drain. Use caution when removing the cap, as they are known to crack rather easily. - Source: Internet
- Before replacing a faucet handle, be sure to turn off the water supply to the bathroom. Once the water has been turned off, test the water flow by turning the hot and cold water on and off. If no water is flowing, it is safe to begin an inspection. - Source: Internet
- Step 1: Check the aerator that’s at the end of the spout. Use the tool that came with the faucet to unscrew the aerator counterclockwise by hand. Simply unscrew the aerator at the end of the spout and check it for any debris. You can scrub it with a toothbrush and a solution of white vinegar and water. - Source: Internet
- You can end up hurting yourself, ruining the faucet forever, and also ruin your sink along with it. This is why you should be very careful when you are doing it on your own. Professional help is always recommended on how to fix moen bathroom faucet handle. - Source: Internet
- This is where you have to be very careful. After the spout removal, move on to the next setscrew and unfasten that using the hex key again. With all the key screws unfastened and loose, the faucet cartridge will be very shaky and wobbly. - Source: Internet
- Sometimes a faucet handle can become stripped when attempts to remove it have caused the set screw to lose its grip. However, this doesn’t mean that it can’t be removed; it just means that you’ll have to use a different method to do so. Here’s a method that you can use to remove a stripped faucet handle. - Source: Internet
- In many cases, a faucet handle is attached via a simple Phillips head screw. These screws are often hidden out of sight to add to the decorative appeal of the piece. Common locations to find these screws are beneath decorative caps. These caps might read “hot” and “cold,” or they may even be designed in the same metal finish as the rest of the handle. - Source: Internet
- For the most part, you can remove screwless faucet handles similarly. If you are unsure how to unscrew the handle, it’s best to check the user’s manual of the faucet if you still have it available. You can also find the manual online if you can’t locate it. - Source: Internet
- A handle puller is a special tool designed specifically to pull out hard-to-remove faucet handle stems. You can purchase one for $10-20 at any hardware store. However, most faucet stems can be removed with a pair of pliers. - Source: Internet
- The drill bit you’ll need for this application will depend on the faucet you have. However, you’ll likely need a cobalt, Phillips, or Allen-head bit for this task. Make sure that the bit is just large enough to fit securely inside the stripped faucet head. - Source: Internet
- Once the screw is removed, your faucet handle is free. Pulling the handle with bare hands should remove it, but if it doesn’t, use pliers. If it still does not come out, use a faucet handle puller. - Source: Internet
- Some bathroom faucets may come screwless to offer aesthetic appeal. At first glance, figuring out how to remove the faucet handle may seem a bit daunting. Continue reading to learn the basic steps to remove a screwless faucet handle quickly. - Source: Internet
- To remove the Moen bathroom faucet handle, start by using a strap wrench counter-clockwise on the bottom of the faucet handle to unfasten the faucet handle. Then remove the faucet spout using a hex key. Disassemble the faucet system using the hex key and take out the C-clips. - Source: Internet
- It is not uncommon for shutoff valves to grow old and stop functioning correctly. If you find that water continues to dribble even after closing the shutoff valves, then you’ll need to shut off the main water supply valve to continue this repair. It also means you will need to replace the fixture shutoff valves as part of your faucet replacement project. - Source: Internet
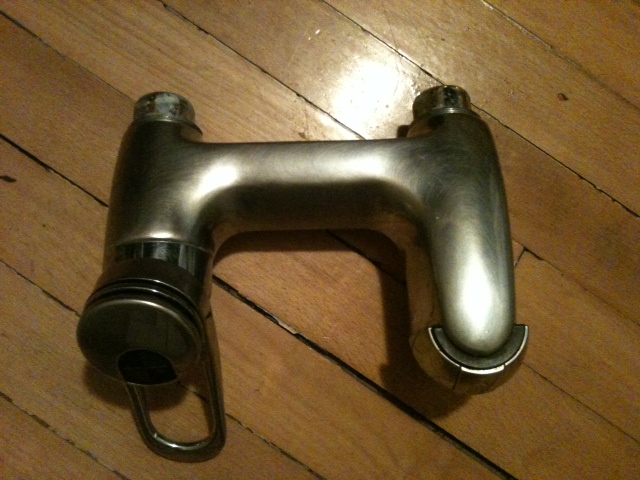
- A bottom-mount faucet uses a design in which the bulk of the faucet body is found below the sink. Here, you’ll need to remove the handles and spout, then loosen and remove the mounting nuts holding the faucet from above. When these mounting nuts are removed, the faucet body can be dropped down and removed from below the sink. - Source: Internet
- If you notice that it is very weak, or it is cracked, you will need to replace it in order to make sure that your faucet is working properly. The only time you can repair a cartridge is if it is build-up. All other issues should get a replacement. - Source: Internet
- No matter what type of faucet you have, you’ll need to start by shutting off the water to the faucet. Do this by turning off the two shutoff valves located beneath the sink, or by shutting off the main water supply valve to the house. The shutoff valves are closed when you turn the handles clockwise as far as they will go. - Source: Internet
- The first thing to do when you realize that you have a leaky faucet is investigate the source of the leak. If the water is dripping from the spout, that’s a pretty clear sign that the internal valve isn’t shutting off the water completely, and the faucet cartridge needs to be replaced. If you have a leak around the faucet base or underneath the faucet, it could either be water running from the faucet body or from a different source. Because different leaks require different repairs, it’s important to determine where it’s leaking before taking the faucet apart. - Source: Internet
- The Spruce / Kevin Norris Remove Faucet Body Remove the faucet body from under the sink. Sometimes the faucet will fall on its own once the mounting nuts are removed; other times, you will need to tug on it gently to free it. It’s a good idea to place a thick towel beneath the faucet so that it doesn’t damage your cabinet or floor if the faucet assembly drops. - Source: Internet
- Removing a bathroom faucet handle is a pretty easy task. Although I have mentioned it in the beginning, some of the older models from Moen are not exactly the ideal faucets to take apart by yourself. These need to be disassembled entirely just to remove the faucet handles. - Source: Internet
- Look under the sink to locate the shutoff valves on the water supply lines for the faucet. Most shutoff valves have a small, football-shaped handle or a lever that rotates. Close the valve for the faucet tap you will be working on by turning the handle clockwise until it stops. If your shutoff valves have levers instead of knobs, rotate the levers until they are perpendicular to the water pipes or tubing (the direction of the water flow). - Source: Internet
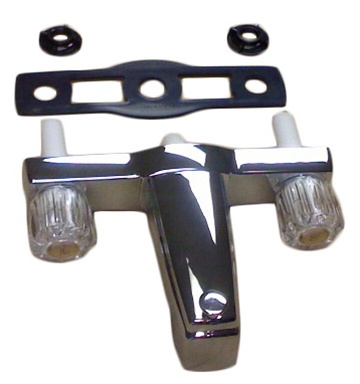
- One economical way to update the look of your bathroom is to replace the faucet handles. When replacing bathroom sink faucet handles, you must purchase replacements that are the same type as what you currently have on the faucet. Rotary handles rotate farther than lever handles. All faucet manufacturers use a single screw to secure the handle to the faucet. Replacement handles are available at plumbing supply stores and home improvement centers. - Source: Internet
- Hey, I told you it would be easy. You should probably be able to handle this job (see what I did there?) in less than 30 minutes with ease. If you can use a screwdriver and pliers, then you can remove a Moen bathroom faucet handle and stem. - Source: Internet
- Dual-handle faucets are a little more tricky. However, to begin ensure the water is turned off using the two shut-off valves located below the sink. Next, just like with when dissembling a single-handle faucet, remove the screw from the middle the faucet allowing you to lift the handle offt, if this doesn’t work some handles must be removed by unthreading the shroud below the handle, achieved by slowly lifting the handle and shroud trim off together. - Source: Internet
- Remove the screw from the middle of each faucet handle with a screwdriver. Lift the handles off the faucets. Remove a corroded handle with a handle puller. Compress the two jaws at the bottom of the puller around the base of the handle. Turn the handle at the top of the puller in a clockwise direction to draw the handle off the faucet. - Source: Internet
- After you untwist the set screw, Grab a rag or towel wrap it around the bottom of the handle to avoid scratching it before its removal. Next, gently grab and remove the faucet handle from its position. It’s best to do this with a faucet handle puller or a pair of pliers, as you’ll need a firm grip to get it to wiggle it out of its position. - Source: Internet
- When this happens, it is time to change out the old bathroom faucet handles for new ones. The good news is that for most bathroom faucet designs, swapping out these handles is simple. The following guide will outline how to change out a bathroom faucet handle, what important considerations to make when searching for replacements, and how to determine whether or not a bathroom faucet handle is interchangeable. - Source: Internet
- Ans: Tightening a loose bathroom faucet is super easy. Once you remove the faucet handle, you will be able to find the screw that keeps the faucet stem in place. Tighten that with a screwdriver or a hex key and you will be good to go. - Source: Internet
- Once the cartridge is out, rotate it 180 degrees so that the two tabs are aligned with the slot on the body of the valve. Next, place the cartridge back inside the valve and secure it in place. If there is a retaining ring there, be sure to thread it on securely and then place the faucet handle back on top of the cartridge stem. Lastly, secure the handle in place with the set screw and then place the decorative cap back on top of the screw. - Source: Internet
- Take a rag or clean cloth and place it around the edge of the faucet. Next, grab your needle nose pliers and place a firm grip on the faucet and slowly pull it away from its position. You may need to jiggle the faucet from side to side to break it out if its set screw connection, so be sure to use caution when performing this step. Take the pliers and grab the end of the remaining set screw to twist it up slowly and out of the faucet. - Source: Internet
- If you have water at the base of your faucet, check to see if it is running down the spout and puddling at the base. This can be caused by a loose or faulty aerator or even by a small pinhole in the spout. If all looks good and the problem is not a leaky faucet spout, then the problem could be a loose retaining nut under the dome cap. Remove the faucet handle and the dome cap and check to make sure the nut is tight. - Source: Internet
- Use your flat head screwdriver to remove the decorative button or cap on top of the faucet. Next, loosen the set screw inside the handle with a small screwdriver. Hold the handle to the cartridge stem with a pair of needle-nose pliers and slowly wiggle it out of its position. Use caution when removing the handle so that you do not scratch the surface with your pliers. - Source: Internet
- Once the cap has been removed, this should expose a screw. Start by unscrewing this piece and pulling the handle off of the rest of the faucet body. This will often expose an escutcheon (or small metal cover) at the base of the handle. On this plate, look for a small hole where another screw is located. These screws usually need to be removed with the use of a small Allen key. - Source: Internet
- Step 2: Shut off the supply valves under the sink. Turn the faucet handle on to completely drain the lines. With the aerator removed and the faucet handle in the on position, turn the water supply back on. The sudden burst of water may remove the debris that’s gotten stuck inside. If you still hear the noise, the debris may be trapped inside the faucet itself. - Source: Internet
- Ans: Hex keys are usually used to unfasten all the set screws in a faucet handle. These come in sets where each key has a different diameter. To remove a stuck hex key, just use a couple of drops of lubricant, or any sort of oil that will help it to penetrate through the rod. - Source: Internet
- If the leak is minor, you can definitely try a DIY approach. If it is severe, you will always want to call in a professional! Did you know that the most common cause of a leaking faucet is a worn or missing O-ring? This is definitely DIY-friendly repair if you are feeling ready for it. Steps include: - Source: Internet
- If you can identify the faucet’s brand name, parts will be easier to find. Often no brand name is visible, so you’ll have to take out the stem and show it to your store sales rep. Another solution is to purchase a universal replacement kit. While not as long-lasting or reliable as brand-name parts, it will do the trick in a pinch. - Source: Internet
- The Spruce / Kevin Norris Remove Handles and Spout Working from above, remove the valve handles and spout from the faucet. Look for a hidden set screw that holds the handle or handles in place. The set screw for the spout is sometimes found under an escutcheon ring that can be lifted to expose the screw. - Source: Internet
- This is the last step of faucet removal. Once you have unfastened all the screws and look at the handles and locate the c-clip. Slowly take these out. Use a flat-headed screwdriver to pull it out. - Source: Internet
- It can also be that the rubber or plastic gasket under the faucet is cracked or faulty, allowing water that puddles on the counter or sink rim to leak through. To fix this problem, you will need to remove the faucet and replace the gasket or seal it with plumbers’ putty before reinstalling. For a homeowner who is uncomfortable working with plumbing, this will probably require calling in a plumber to fix the leak. - Source: Internet
- Sometimes a faucet handle may be installed backward by an inexperienced plumber or DIYer. However, the faucet can be reversed in a matter of minutes. Here’s how to perform this quick fix. - Source: Internet
- Repairing a leaky single-handle bathroom sink faucet is often a lot simpler than you think. With the right tools and parts, a faucet repair can be completed in just a few minutes by most homeowners, even those with little or no plumbing experience. By doing the work yourself, you will save money on the cost of a plumber and stop that annoying drip in less than an hour. - Source: Internet
- Sometimes you may need to remove a faucet handle to change the filter or troubleshoot a leakage issue. Other times you may simply want to replace the faucet completely. But how do you do this if the handle has no screws? We’ve looked into the best method to remove screwless faucet handles, and in this post, we will share it with you. - Source: Internet
- Most bathroom faucets that have two handles are cartridge-style faucets. Each faucet handle (hot and cold) has its own cartridge, a valve that turns with the handle to control the flow of water into the faucet spout. If you have a very old two-handle faucet, it may be a compression-type rather than a cartridge. You’ll know when you remove the faucet handle, as cartridges are usually plastic and held in place with a metal retaining nut, while compression faucets usually have a metal valve with a flat rubber washer on the bottom. - Source: Internet
- Cartridge faucets come in both single-lever and two-handle versions, and various models use different types of plastic or brass-body cartridges. In a single-handle faucet, the handle raises or lowers the cartridge within the faucet body to start and stop the flow of water. Both hot and cold water flow into the same cartridge, and a turn of the handle controls the mixture and temperature. Two-handle cartridge faucets operate similarly, but in this design, there are two cartridges, each controlling the flow of either hot or cold water. In these, the motion of the handle twists the cartridge rather than lifting it up and down. - Source: Internet
- With all the previous parts removed, there should be only a faucet stem left. Here, a new escutcheon plate can be installed, followed by the replacement handles. Before screwing the handles into place, make sure that they will be facing the right direction when the water is off and on. - Source: Internet
 Here are a few tips to help you find information about How To Remove Moen Bathroom Faucet Handle? 2 Simple Methods To Follow:
- Look for good places to get information about Bathroom Faucet Handle Won'T Come Off. This can be done in libraries, on websites, or even by paid journalists.
- When looking for information about Bathroom Faucet Removal Problems, it's important to know that there are different kinds of online sources, like Google and YouTube. Social media sites like Facebook and Twitter are also good places to look for information about Remove 3 Piece Bathroom Faucet.
Here are a few tips to help you find information about How To Remove Moen Bathroom Faucet Handle? 2 Simple Methods To Follow:
- Look for good places to get information about Bathroom Faucet Handle Won'T Come Off. This can be done in libraries, on websites, or even by paid journalists.
- When looking for information about Bathroom Faucet Removal Problems, it's important to know that there are different kinds of online sources, like Google and YouTube. Social media sites like Facebook and Twitter are also good places to look for information about Remove 3 Piece Bathroom Faucet.Video | How To Take Apart A Bathroom Faucet Head
To get the best information about Delta Crystal Single Handle Faucet Repair, you should read to find out how true each source is.
This article has a few videos from different places about How To Remove Faucet Handle that will help you learn more about it. The Internet is a great place to find out about a wide range of things.
## Here are some crucial points concerning Bathroom Faucet Handle Won'T Come Off:- How To Take Apart A Bathroom Faucet Head
- How To Take Apart A Single Handle Bathroom Faucet
- How To Take Apart A Bathroom Faucet Handle
- How To Take Off A Bathroom Faucet Handle
- How To Take Off Bath Faucet Handle
With so many websites and forums that talk about Single Handle Bathroom Faucet Repair, it shouldn’t be hard to find what you need.
Most people are used to getting information about how to take apart a single handle bathroom faucet in a very different way than this. It lets you look at the information about How To Remove Bathroom Faucet Handle Without Screws and how it can be used in more detail.
 ways to put information about Bathroom Faucet Removal Problems in a way that looks good and is useful. They can be used in business and marketing, and they can also be used to talk about Delta Crystal Single Handle Faucet Repair. So, we also give you some pictures about How To Change Your Bathroom Faucet Handles.
In the end, this article gives a summary of Best Tips for Effortless Moen Single Handle Bathroom Faucet Repair. Also talked about are How To Remove A Two-Handle Bathroom Faucet and How to Fix a Leaky 2-Handle Faucet, which you can use to compare how much you know about How To Remove Aerator From Bathroom Faucet.
