Today’s topic is How To Remove Texture From Walls That Is Painted. Obviously, you can find a great deal of How To Fix Bad Texture On Walls-related content online. The proliferation of online platforms has streamlined our access to information.
There is a connection between the How To Remove Popcorn Walls and How to Remove Texture from Walls in Your Home information. additional searching needs to be done for What Is The Easiest Way To Remove Texture From Walls, which will also be related to How To Remove Textured Paint From Plaster Walls.

55 Things About How To Remove Texture From Walls That Is Painted | How To Remove Heavy Texture From Walls
- Some popcorn ceilings that were installed before the Clean Air Act of 1978 in the United States may contain asbestos. Asbestos poses serious health risks once inhaled. For your safety, have your ceilings tested for asbestos. If asbestos is present in your painted popcorn ceiling, proceed to the process only after you have worn a protective face mask. - Source: Internet
- If your textured wall is painted, the best course of action is to smooth it out by covering the texture in joint compound. This is known as a skim coat. Follow these steps to skim coat textured walls. - Source: Internet
- Whether you have painted or unpainted textured walls, you can always cover your walls with another material—think wallpaper, wood panels, and wall stencils. Covering your walls is a less involving alternative to scraping drywall and skim-coating popcorn paint. There’s also plenty of materials to choose from to create your desired aesthetic. - Source: Internet
- I’ve said it before, but let me repeat myself. The internet “pros” will tell you this can’t be done. In their eyes, the only acceptable ways to deal with bad wall texture are: - Source: Internet
- This darkening effect does a superb job of hiding surface imperfections. If your drywall has visible seams, bulges, depressions, or other imperfections, wall texture can go a long way toward hiding them. This is one reason why ceilings are so often texturized: Because ceilings receive the most light, it is very hard to hide their imperfections. - Source: Internet
- You can hire a painter to smooth textured walls, but the cost for labor would have put the project out of my budget. The cost of supplies and doing it myself put the total investment around $50 and 5 hours. Not bad for the huge impact. - Source: Internet
- Though it is going to be more difficult to remove painted popcorn ceilings, it is not an impossible job. If you are one of those extremely independent people who like to do things on their own, then you’re in the right place. We are going to show you how to easily remove your painted popcorn ceilings using items that you can easily acquire from the hardware store. - Source: Internet
- The trick to removing textured paint on walls is to use the proper grit of sandpaper. Too fine of grit, and you’ll have little luck sanding away the textured coat. Too rough of sandpaper, and you could damage the wall and leave uneven spots. - Source: Internet
- If your home was built before the 1980s, the textured paint on your walls could contain asbestos or lead. Asbestos was particularly common in old popcorn ceilings. Both spray-on asbestos and lead-based paint were banned in 1978. If you’re not entirely sure what kind of paint you’re dealing with, it’s best to hire an asbestos testing company near you and/or have lead clearance testing . - Source: Internet
- I also recommend the typical safety gear. Gloves and safety goggles are always a good idea. And get yourself some spackle while you’re out, you will find many holes hiding underneath that texture you never knew were there. - Source: Internet
- Before moving to Texas and building a house, I didn’t realize the wide variety of texture finishes that are possible on drywall. Where I grew up in Utah, walls were always smooth, and the heavy texture that seems to be the norm in Texas and many other southern states feels unfinished to me. So, I’ve decided to tackle the texture myself by smoothing it out with a skim coat before I paint or wallpaper each room. - Source: Internet
- – Remove items from the walls, move the furniture and you can cover or remove the trim if you want and cover the floor. Add Water – You can either use a water-soaked sponge or a spray bottle. The key is to get enough but not too much water on the texture. - Source: Internet
- A few weeks ago, I was getting Jack’s room ready to paint and tested a few colors. I ended up hating both, but what I really hated was the aggressive popcorn texture all over his walls. They made the room feel smaller and darker because all those little specks cast little tiny shadows on the wall. - Source: Internet
- Get the link to all the materials and read more on the blog here: https://www.remodelaholic.com/how-to-skim-coat-smooth-wall-texture-over-textured-walls/” player-type=”collapse” override-embed=”true”] - Source: Internet
- Take your drywall taping knife and lightly skim the wall to remove the excess compound. The idea is to create a smooth surface over the texture. For less mess, scrape the compound into a drywall mud pan. - Source: Internet
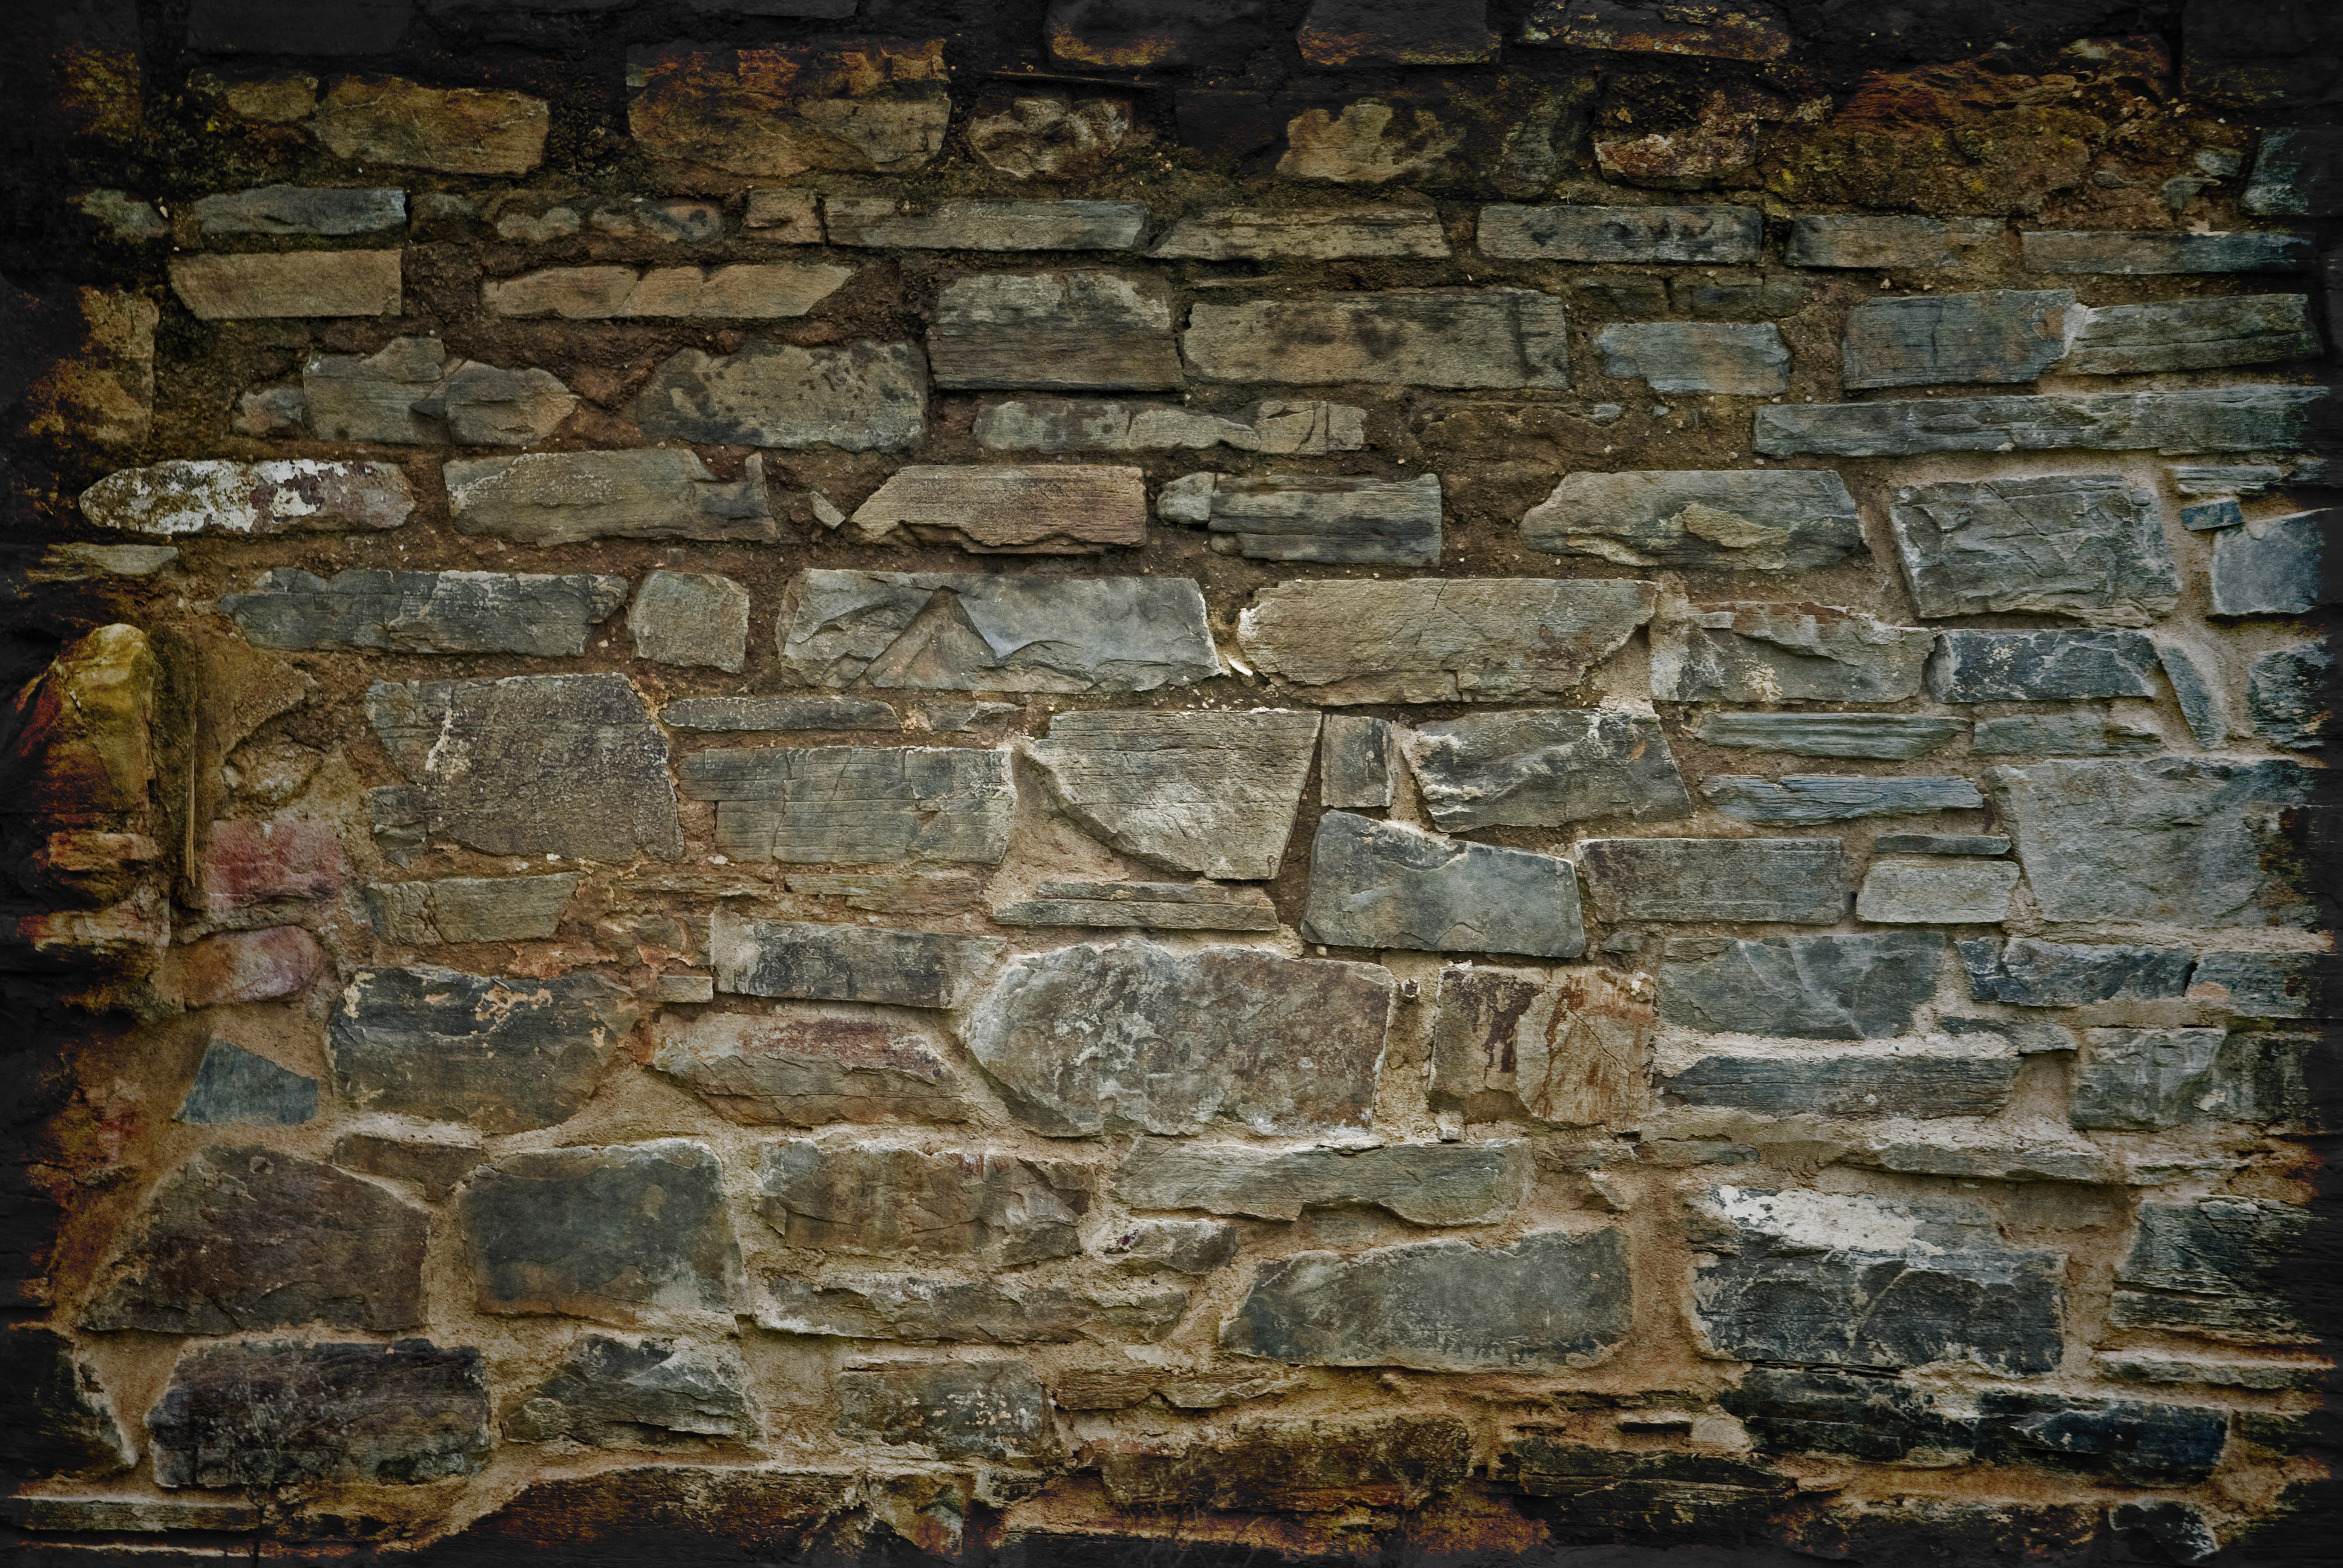
- One of the basic tenets of interior design — if you ever plan to sell your home — is to avoid overly personal choices of the more permanent variety. Yet, as anyone who has ever house- or apartment-hunted before can attest, many people think that textured walls are a universally appealing design choice. Fact: They are not. To be fair, textured walls are often employed as a cost-saving measure, because they save on drywall installation costs and hide damage and imperfections that would otherwise need to be repaired — but that doesn’t make them any less divisive. - Source: Internet
- Use a pump sprayer or spray bottle filled with water to evenly saturate the drywall. You may have to spray the wall a couple of times and wait a few minutes for it to soak in. Test the softness with your finger. If the texture feels pliable, move to the next step. - Source: Internet
- Professional painters create wall and ceiling textures with an electric texture sprayer. These tools allow the user to pour texturing compound into a hopper, and the machine introduces water and air to the mix. The hopper is a better choice if you are texturing a large area. - Source: Internet
- If your textured wall has been painted, you’re going to have to employ a more complicated fix (see below). That’s because paint acts as a sealant, protecting the texture from its enemy (that would be water, and you). These approaches apply to textured ceilings, as well. If the wall in question isn’t painted, you can use the “Soak and Scrape” procedure to get that texture off the wall. Like so: - Source: Internet
- – You can either use a water-soaked sponge or a spray bottle. The key is to get enough but not too much water on the texture. Let the Water Soak – Give the water about 15 minutes to soak into the texture and you may want to add more water at this time if you think it is necessary. - Source: Internet
- I started the process in this small bathroom, where I was planning to add some fun jackalope wallpaper, but couldn’t wallpaper over the thick texture. After lots of research I determined that a simple skim coat would do the trick to smooth the walls enough to add the paper. Adding the skim coat to smooth the textured walls was super inexpensive and a very simple process. - Source: Internet
- Once your walls are smooth, it’s time to spackle. Fill all your holes and if you want to try to match the texture, I’ve had good results with a spray on orange peel wall texture can from Homax. Then wipe down your walls with a clean damp rag and you’re ready to paint! - Source: Internet
- Scoop some of the pre-mixed compound into the mud pan. It has the texture of creamy peanut butter. The process of layering it onto the wall is also a little like smoothing peanut butter onto a piece of bread and going all different directions until it stays perfectly smooth. - Source: Internet
- Once water saturates each section of wall, begin scraping away the textured paint with your drywall taping knife. Make sure you hold the end of the knife at a 30-degree angle against the wall to avoid damaging the underlying drywall. Start with smaller sections of two to four square feet. As you move along, you’ll be able to work faster and with larger sections of wall. - Source: Internet
- If you have an older home that’s potentially contaminated with asbestos or lead paint, you should hire someone to remove popcorn ceilings and textured walls . This project creates a lot of dust, and there’s a lot of potential for inhalation if you’re not properly protected. Asbestos exposure is linked to serious health complications like lung cancer and mesothelioma, while lead paint can cause kidney and brain damage if inhaled. It’s best to play it safe when it comes to your health. - Source: Internet
- Before you start this project, you need to do some careful planning. There are two main ways to smooth out the look of your textured walls. You can either scrape off the texture (if your walls aren’t painted) or cover it up (if your walls are painted). These processes are slightly different, so you’ll need to make sure you have the right materials. Here’s how to prep for wall texture removal. - Source: Internet
- Some products contain up to 10% asbestos contamination. Although not all popcorn ceilings contain asbestos, those built prior to the 1980s may pose a high risk of contamination. An asbestos-containing textured paint‘s overall condition determines how dangerous it is. - Source: Internet
- With the hand sander, cut in around edges and fixtures. Be careful and follow the sander’s lead. Don’t put a lot of pressure on the sander to eat through the wall texture faster, that will just break your machine (ask me how I know!) I also like to revisit the main part of the wall with the hand sander after using the large sander. There will be areas that the large sander couldn’t get, I think this is because walls get wavy over time and the head of the drywall sander is too big to get in low spots. - Source: Internet
- Here is the bathroom before. I was told that the walls get this orange peel texture treatment to hide imperfections in the sheetrock seams, but I’ve lived in a lot of places with sheetrock and flat walls, so I’m not sure what is really going on. What I do know is that I don’t love it. - Source: Internet
- There’s another method that you can utilize where you thin the joint compound with water and roll it on with a thick nap roller. I did try this at first and it just didn’t work for me. I wish it had because it seemed much faster. My guess is that this would work well for walls with orange peel texture. - Source: Internet
- – Remove items on the wall, remove or cover the trim and move the furniture away to the center of the room. Sand the Walls – This will remove the paint sheen and reduce the size of the texture. That way you can put less mud on the wall. - Source: Internet
- Popcorn ceilings or some type of texture applied over it are common features found on some homes built between the 1930s and the 1990s. The ceiling was fixed to cover up a number of flaws. The project was completed on time and within budget. The ceiling, which is also known as an acoustic ceiling, was designed to absorb sound and reduce noise. - Source: Internet
- My least favorite aspect of my house is probably the wall texture. It’s very rough, ugly, and quite honestly a bit dangerous. I have bloodied a knuckle or two trying to plug something in behind a piece of furniture. Just the act of dragging your skin across it is dangerous! Therefore, I have made removing the bad wall texture a priority. I’ve recently completed the second room and I’m here to tell you that you can sand down bad wall texture, it’s not hard, and so long as you aren’t seeking perfection it will look good. - Source: Internet
- If the popcorn wall surface has been painted and does not flake off when you run your hand over it, you might be able to plaster over it. Applying a layer or two of skim coat can give you the smooth surface that you desire. This option is not suggested if the popcorn is loose since it would pull loose, eliminating the possibility of strong adhesion to the walls. Test a small area first. - Source: Internet
- If you’ve been following my home remodels, you know I am not a fan of rough wall texture and do a lot of skim coating to get smooth walls. Skim coating means skimming a thin layer of joint compound or plaster to your walls. The materials needed are fairly inexpensive so the cost of having it done by a professional is mostly for labor. If you have the time and patience to do it yourself, skim coating can be done using a $28 Magic Trowel and a thick nap paint roller. - Source: Internet
- Prep and clean the walls Apply a first rough coat of joint compound. Apply a second coat of joint compound. Apply a third and final smoother coat of topping compound. Sand the wall texture to a nice even smooth finish. - Source: Internet
- Third, I don’t want to live with it! Perhaps I’m just being stubborn, but this wall texture is bad. I could maybe live with it if it was just the nature of the texture, but it’s also the application. It’s obvious that this stuff is impossible to match, so it’s painfully obvious everywhere the wall ever had to be patched. - Source: Internet
- The process of smoothing textured walls with skim coating is fairly common. It refers to spreading a layer of joint compound over the walls to fill in the bumps and valleys in the texture, effectively creating a smooth surface. The texture itself is made of a spray-on joint compound, and since my walls were painted with a flat paint, I had no prep work before I got started. I looked at a few tutorials before attempting on my own, and as I began I actually developed a little different method that really worked quickly and easily. - Source: Internet
- I like to go over a room twice, at least with the drywall sander, at 80 grit. This helps get missed spots and areas that need more attention. If you have particularly troublesome areas, put some 120 grit on the hand sander and smooth down those areas of wall texture. - Source: Internet
- Paint the room! Are you so excited? You’re nearly done!!! Painting is also quick and the most exciting part because you can really see the room coming together. For Jack’s room, we used Benjamin Moore’s Seattle Gray in a flat paint finish. A flat paint hides texture the best, which was helpful because my walls were definitely not perfect! - Source: Internet
- You want this first coat of mud to fill in the “pockets” of the previous texture. Don’t stress too much about this layer being perfectly smooth. Just cover the wall texture and then come back for the corners later (see below). - Source: Internet
- The room just looked a little old. I mean, it is old—our house was built in 1926. Apparently texturing walls is common in Colorado too, so many people said that certain areas in the country seem to have heavily textured walls while others don’t! - Source: Internet
- If the knife meets resistance, stop; spray that area again and wait until the texture softens sufficiently. Continue soaking and scraping until the texture is removed. If there’s a tiny bit of texture left, don’t fret. You can remove it with sanding. - Source: Internet
- But wall texture does have the distinct advantage of being a quick method of finishing walls without the seemingly endless cycles of mudding, curing, and sanding drywall compounds. Wall texture can cover up imperfect drywall or mudding work, and it dries rapidly enough that you can begin painting just hours later. And many homeowners do enjoy the rustic look of textured walls. - Source: Internet
- Joint compound won’t adhere as well to high gloss paint. If your wall is glossy, lightly sand the paint to create some texture for adequate grip. After sanding, clean the wall with some damp rags or paper towels. - Source: Internet
- Tip Wall texture effects can vary depending on how the material is applied and rolled. Practice the technique on scraps of drywall or even sheets of cardboard before moving to your walls and ceilings. Practice with both thin coats and heavy coats. Try different drying times between coats. - Source: Internet
- You’ve moved into your dream home, but you’re not ecstatic about the faux stucco paint that adorns the walls or popcorn ceilings. Let’s be honest, there are many types of wall textures —and you either love it or hate it. Luckily, you can achieve a smooth, modern surface if you’re not down with texture. This guide will show you how to remove texture from walls, whether it’s painted-on or combed right into the drywall compound. - Source: Internet
- Pour the joint compound into a paint pan, then roll it on the wall using your thick-nap roller. The thicker the nap, the better to cover deep textures. Be forewarned: you will make a mess, but that’s what the dropcloth is for. - Source: Internet
- If you have textured walls, you should always choose a wallpaper that is specifically designed for them. Furthermore, before painting, thoroughly wipe down all of the nooks and cranny. It will also help you ensure that the paint adheres to the wall as evenly as possible. - Source: Internet
- – This will remove the paint sheen and reduce the size of the texture. That way you can put less mud on the wall. Wipe the Wall – This is to get rid of the dust you created by sanding. - Source: Internet
- Work in about a 2-foot area by pulling the compound down and down, then back and forth in smooth motions until it begins to set a little bit. As it dries, the compound becomes harder to scrape, so the final swipes with the taping knife can create a fairly smooth surface without a bunch of seam lines. You can see the difference between the skim-coated surface on the bottom of this shot, and the textured wall below. What a difference! - Source: Internet
- After rolling the mud onto your first section, use the magic trowel to smooth it out. The first coat won’t be perfectly smooth. The compound is filling the voids that around the raised surfaces in the existing texture. If you have a really heavy texture, you’ll need more layers of joint compound. - Source: Internet
- If you have really heavily texture patterns, the first coat will not produce perfectly smooth walls. The Magic Trowel may create gouges or new lines. Don’t freak out. The next coat will fix that. - Source: Internet
- To do that, all you have to do is continue to read our article. It has the information you need to know about. Once you have read it you should be able to remove texture like a pro. - Source: Internet
- Wall texture is often applied out of necessity. Given a choice, many homeowners would choose a smooth, glass-like texture for their walls and ceilings. Besides being the preferred style of today, smooth surfaces help paint color stand out better. Because there are no bumps to create a shadow effect, the surface appears brighter. - Source: Internet
 Following are some suggestions for where to begin your search for data on Max Strip Painted Popcorn Ceiling Removal:
You should try to find How To Smooth Textured Walls-related information from reputable places. Libraries, online resources, and even paid journalists all fall under this category.
- It's crucial to be aware of the various electronic media sources available when researching How to Remove Unwanted Texture From Your Walls, such as Google and YouTube. You may also get info about What Is The Easiest Way To Remove Texture From Walls on social media sites like Facebook and Twitter.
Following are some suggestions for where to begin your search for data on Max Strip Painted Popcorn Ceiling Removal:
You should try to find How To Smooth Textured Walls-related information from reputable places. Libraries, online resources, and even paid journalists all fall under this category.
- It's crucial to be aware of the various electronic media sources available when researching How to Remove Unwanted Texture From Your Walls, such as Google and YouTube. You may also get info about What Is The Easiest Way To Remove Texture From Walls on social media sites like Facebook and Twitter.It’s crucial to read to examine the authenticity of each source in order to acquire the greatest information regarding How To Remove Knockdown Texture From Ceiling.
Video | How To Remove Texture From Walls That Is Painted
You’ll learn more about You can sand down wall texture (and it’s easy!) after watching the films included in this post, which come from a variety of different sources. Information on a wide range of topics can be easily accessed via the internet.
## Notable features of How To Get Rid Of Popcorn Ceilings Without Scraping include:- How To Remove Texture From Walls That Is Painted
- How To Remove Painted Popcorn Texture From Walls
- How To Remove Painted Knockdown Texture From Walls
- How To Remove Painted Texture From Drywall
- How To Remove Heavy Texture From Walls
With the abundance of Sanding Painted Popcorn Ceiling-related resources available online, it’s easy to find what you’re looking for.
This is not how most people would expect to learn more about How To Remove Textured Paint From Plaster Walls, so be prepared for some shock value. It paves the way for a closer examination of the How To Remove Heavy Texture From Walls information’s actual substance and its potential applications.
 techniques for making How To Actually Remove Painted Popcorn Ceilings Using Items You See From The Hardware, No Questions Asked data visualizations that are both aesthetically pleasing and practically applicable. They can spread the word about How to Remove Texture from Walls in Your Home in professional and promotional settings. For this reason, we also include how to remove painted popcorn texture from walls-related pictures.
At last, this article sums up key points about How To Remove Orange Peel Texture From Walls. There is also a comparison of your How To Remove Popcorn Ceiling Safely knowledge to that of How To Remove Textured Paint From Plaster Walls, as well as a discussion on How To Remove Textured Paint From Plaster Walls and How to Smooth Textured Walls with a Skim Coat.
